Vertex VA4 Milling Vice Strip and Rebuild
Introduction
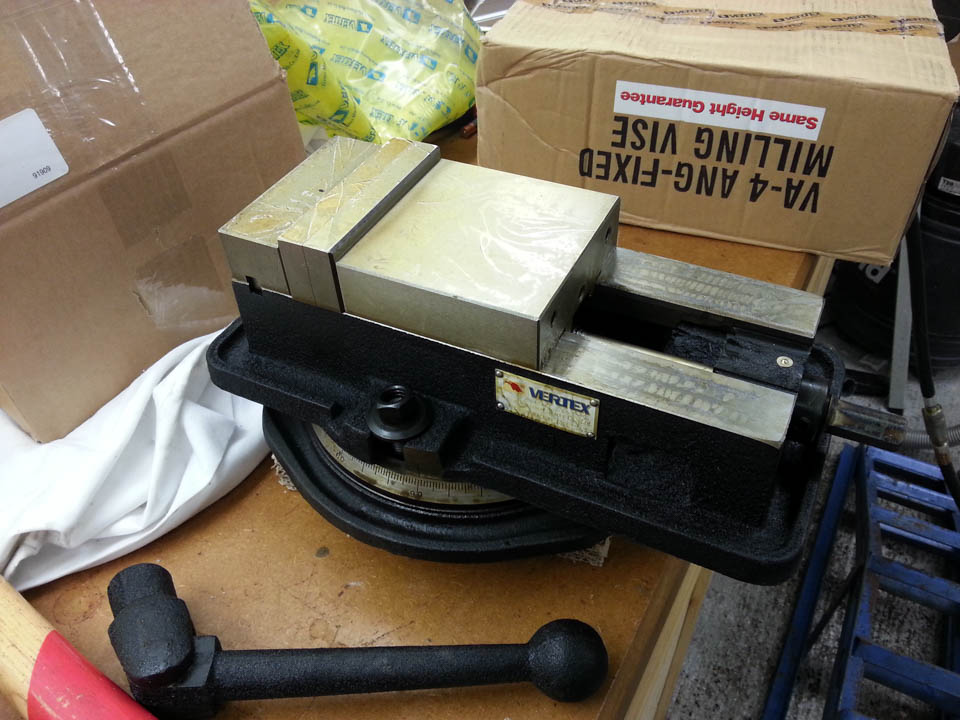
A general 4" milling vice
Recently I was looking for a general purpose milling vice to replace my precision tool vice. There's nothing wrong with the precision vice per se, but the clamping mechanism can be a bit cumbersome to set up and I need a more general purpose workhorse that doesn't hinder me while I'm still learning the basics of milling.
I decided on a Vertex VA4 4"/100mm vice from Chronos. This Taiwanese vice is supposedly a good quality vice and a clone of the highly regarded American made Kurt vice with an angle lock mechanism that prevents the moveable jaw from lifting.
Out of the box the Vertex vice doesn't look a patch on the precision tool vice. The black rough casting finish has been carried out lazily and you can see metal chips under the coating in places. There is a dried up grease coating to protect the machined faces and it's been sitting like that for 2 years judging by the date on the supplied certificate.
Still, these are just aesthetics and shouldn't impact its function, so I proceed to to strip, clean and rebuild it before use.
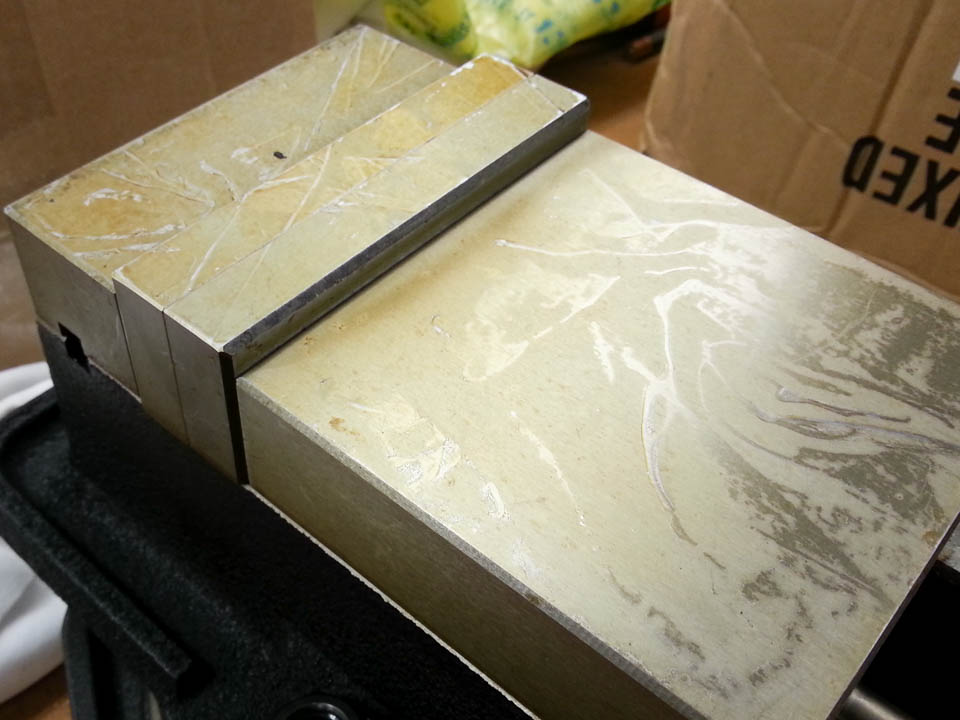
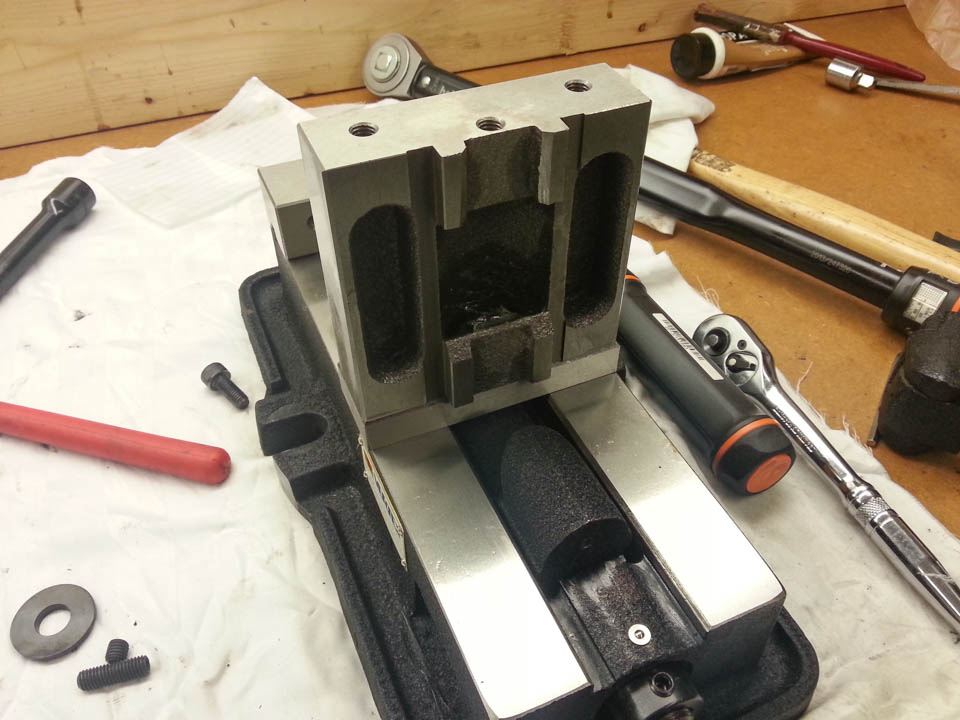
Close-up of the jaws.
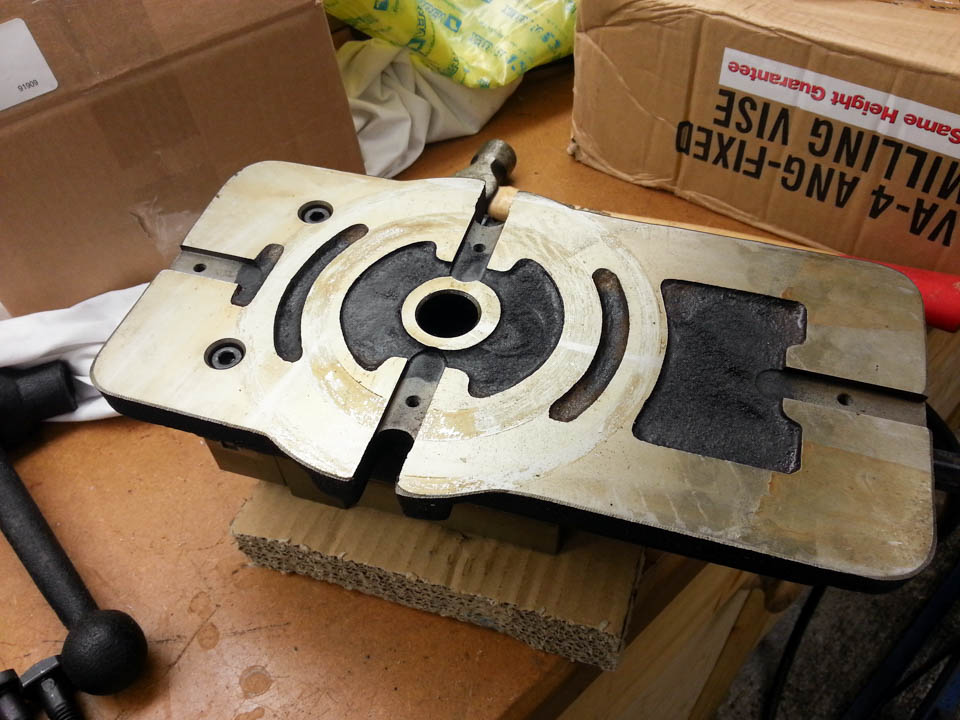
The underside of the vice.
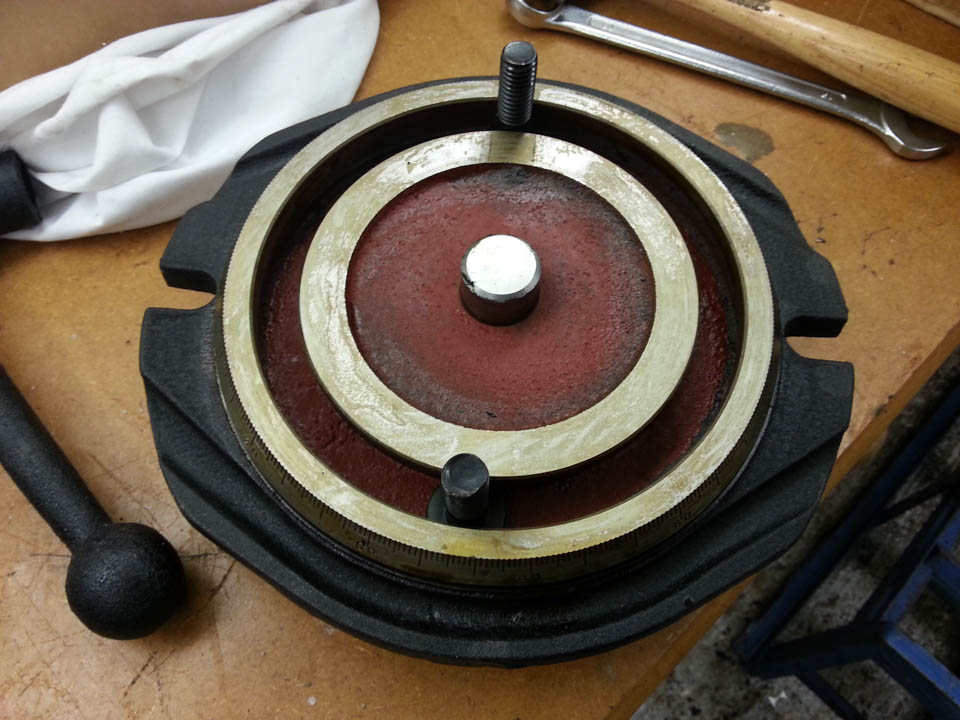
The top of the swivel base.
The underside of the swivel base.
The Strip
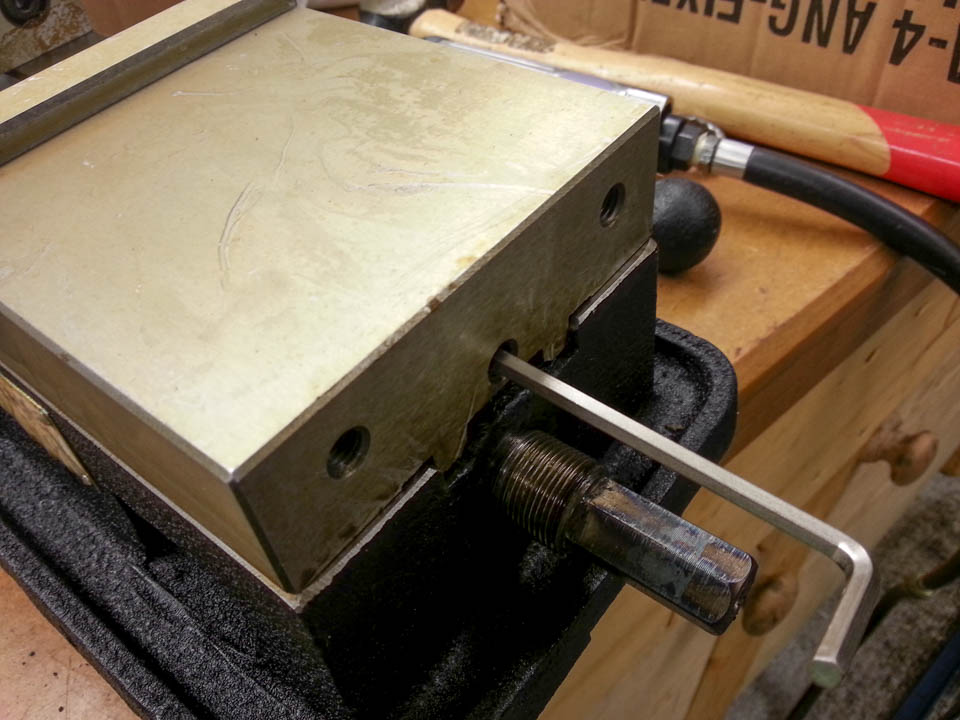
First the socket head bolts are removed from the jaws.
The fixed jaw end also has two more bolts that are removed from the underside. It is then persuaded off the base and the bar which keeps it firmly attatched and aligned.
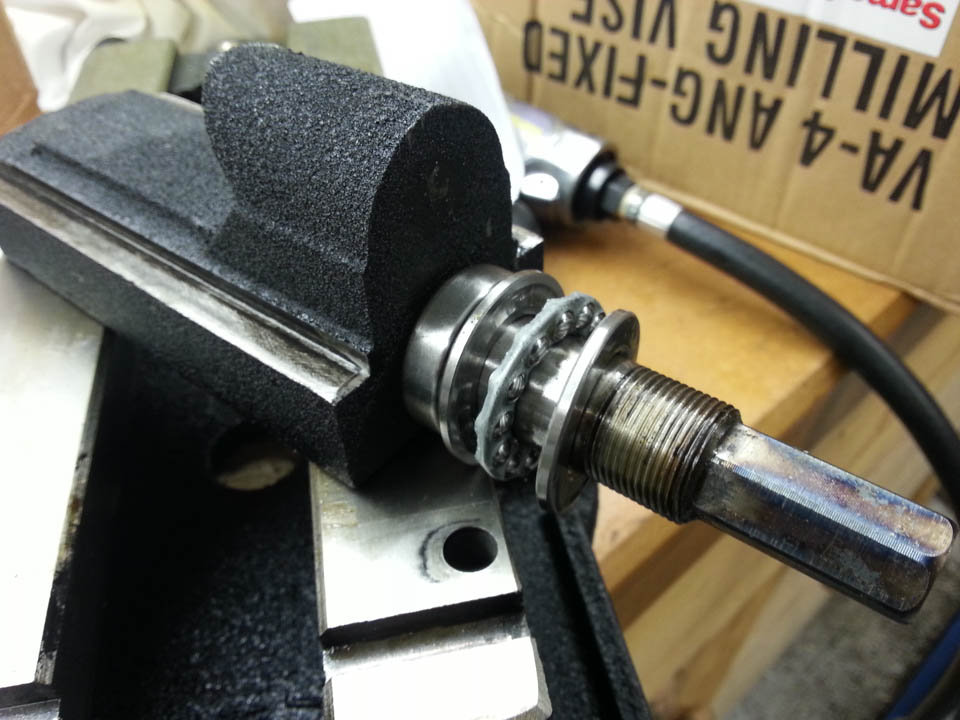
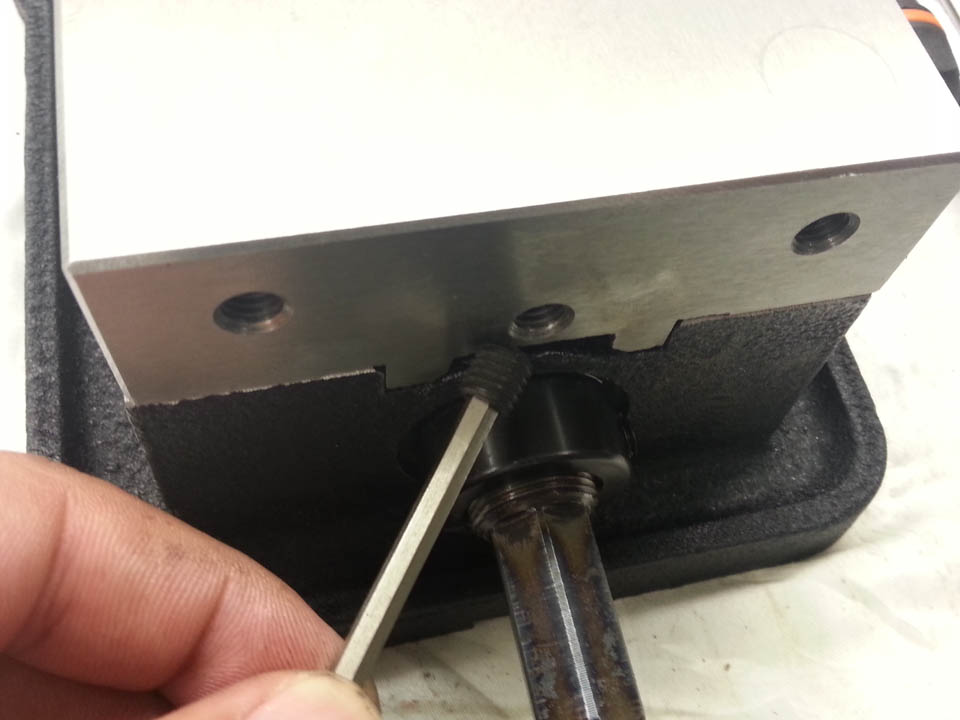
Remove the grub screw that holds the collar on the leadscrew.
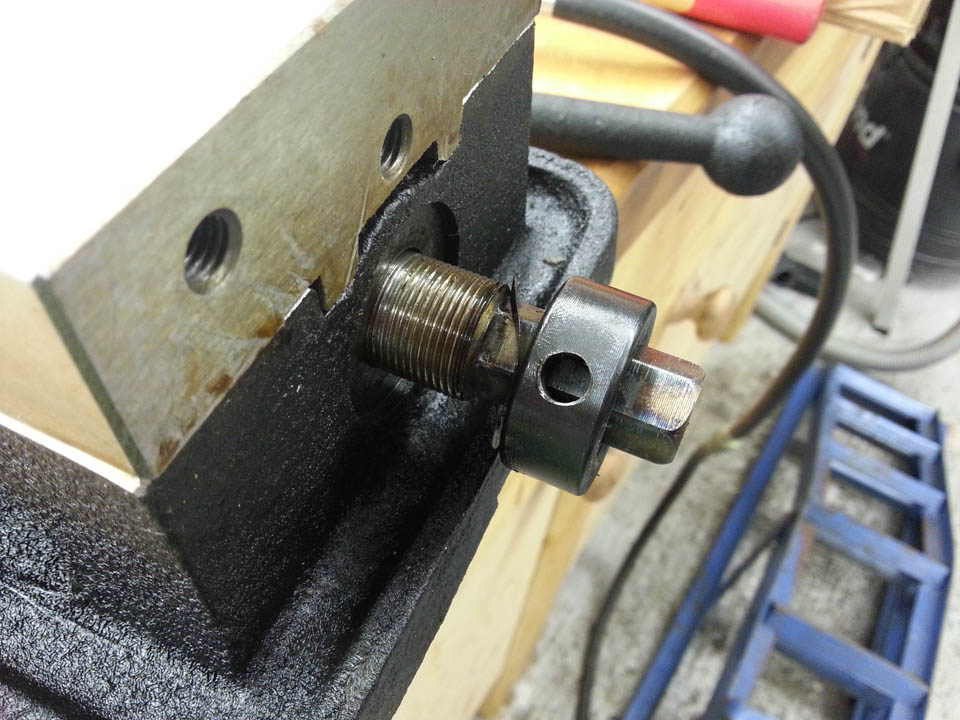
There's a thin spring washer between the collar and body, and a tiny brass washer (not shown in the pic) that sits on the thread under the grubs screw which needs to be stored safely!
Next remove the long grub screw.
And pull the rear jaw off.
The long grub screw released above acts on a hemisphere bearing to pull the jaw downwards when clamping.
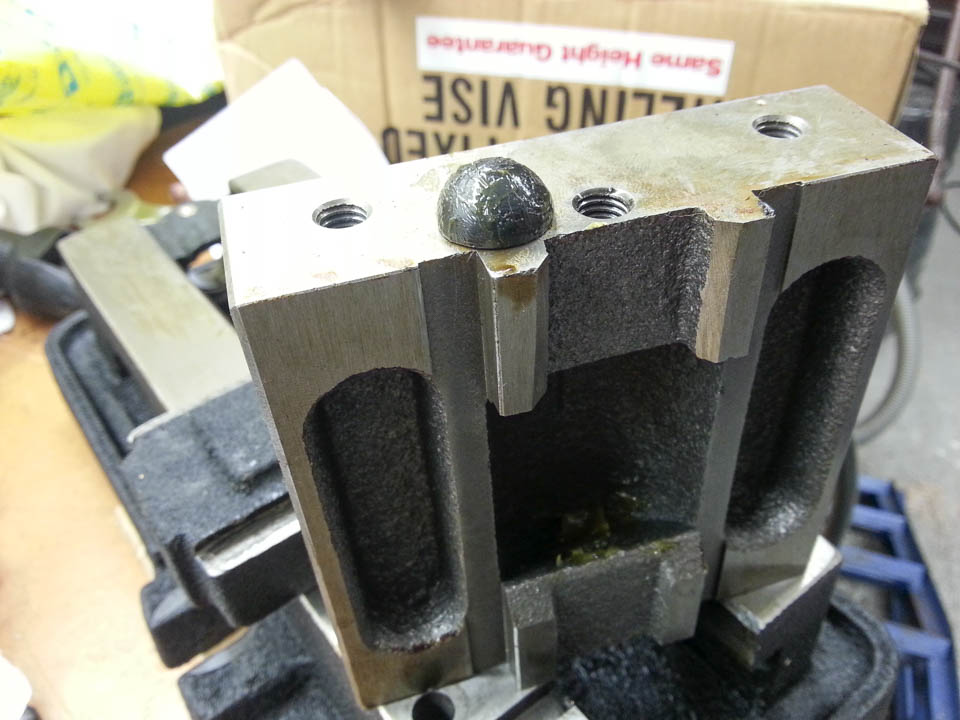
The angle lock hemisphere bearing removed.
The leadscrew and mechanism can then be removed from the main vice body.
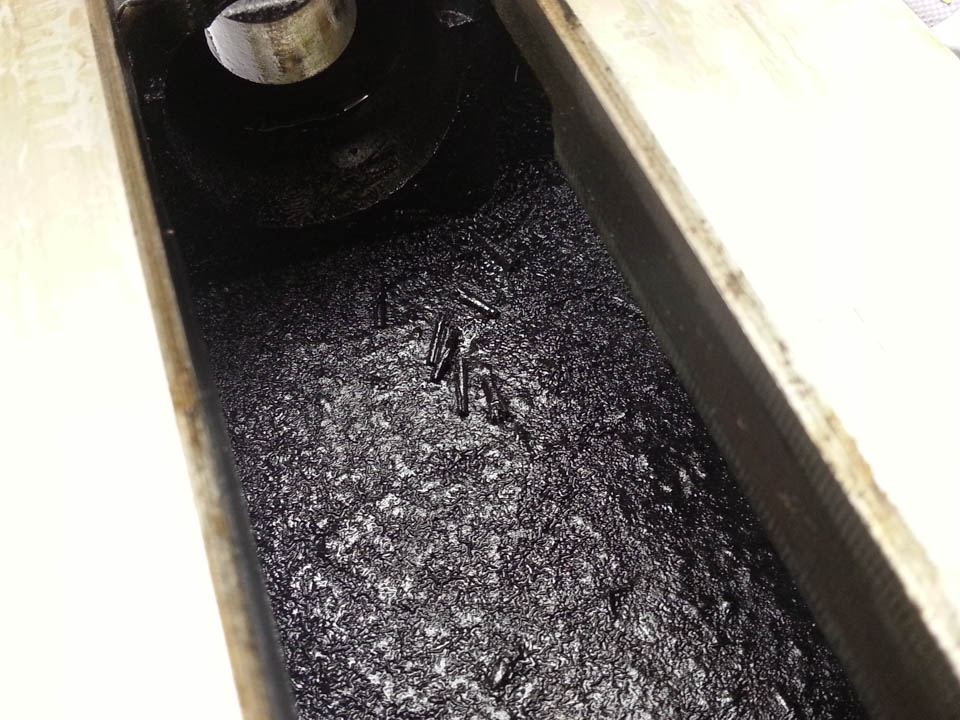
A close-up of some metal chips left on the vice body before it was painted at the factory.
Thankfully they scrape off quite easily with just a screwdriver so as to appease my OCD.
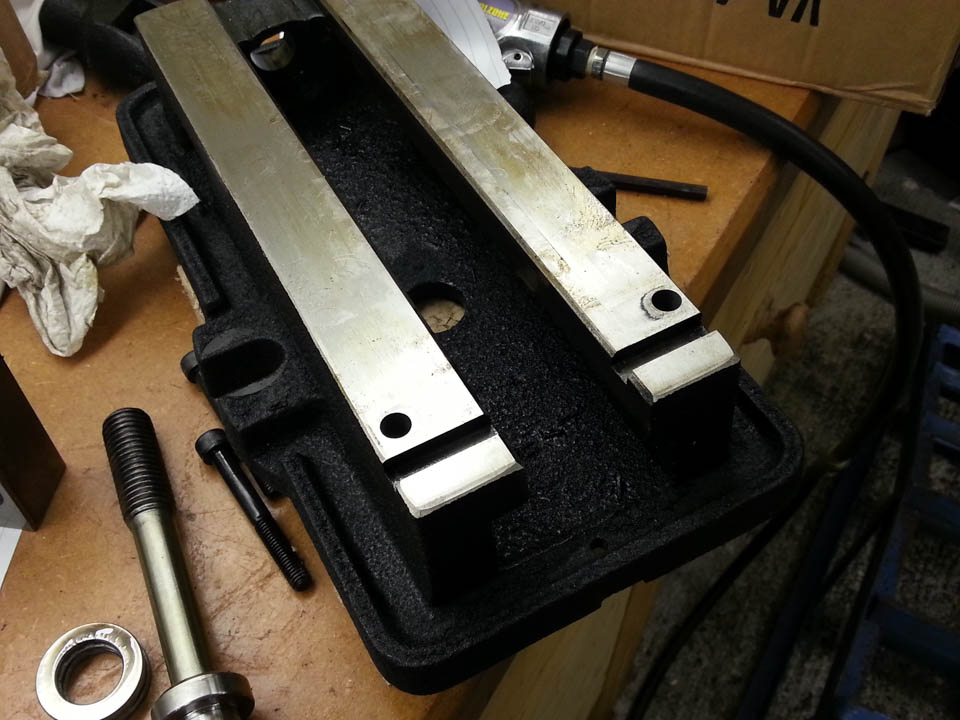
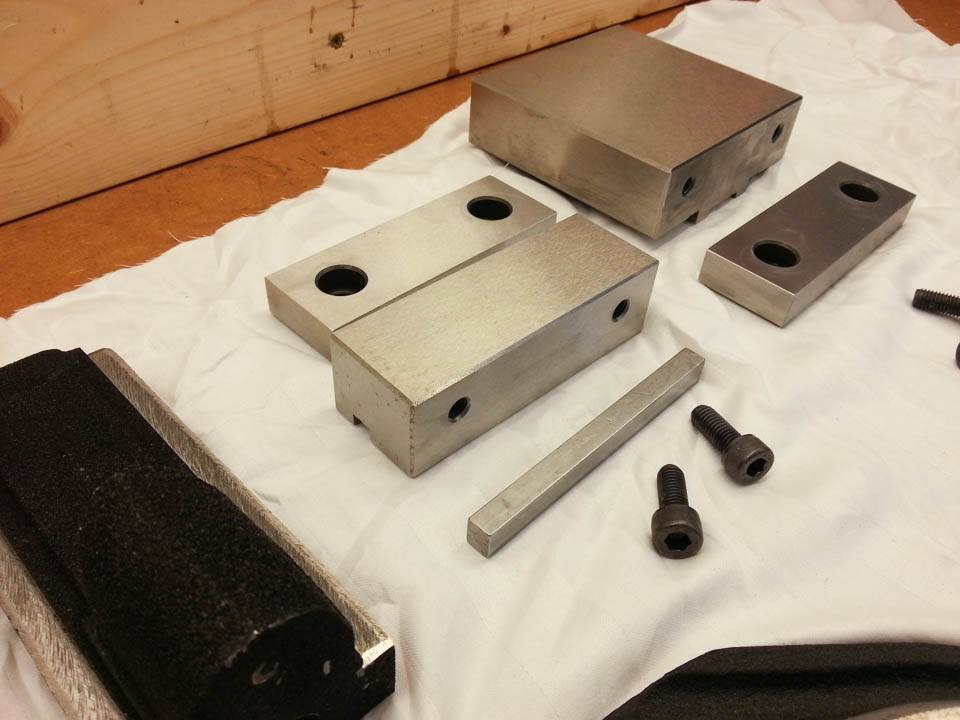
And finally the vice body has been completely stripped.
Cleaning
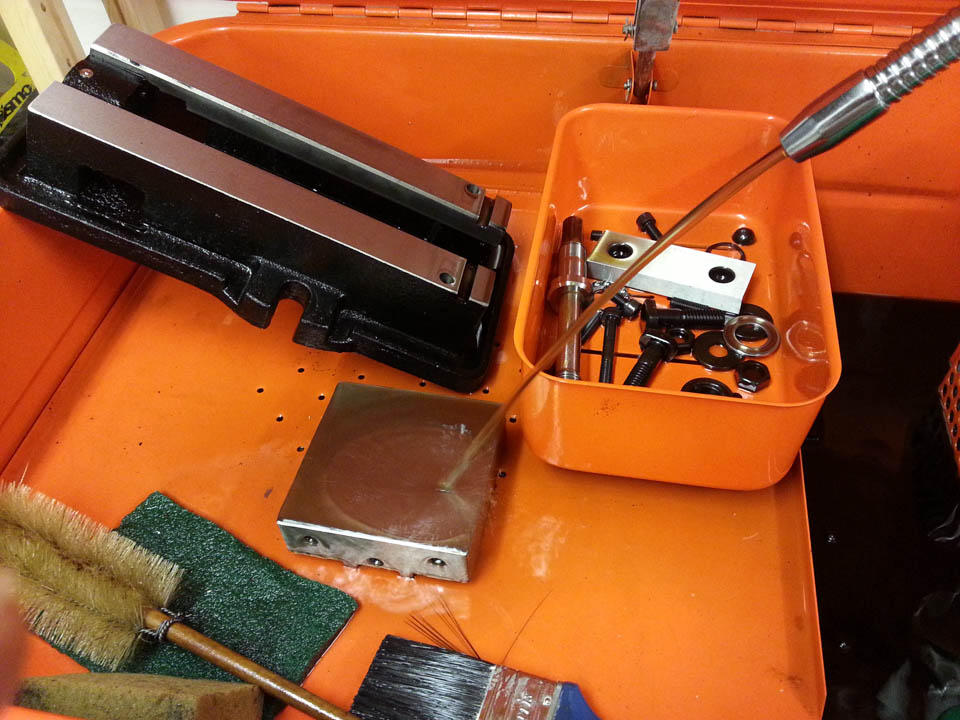
The whole lot goes into the parts washer for a thorough degreasing.
Rebuilding
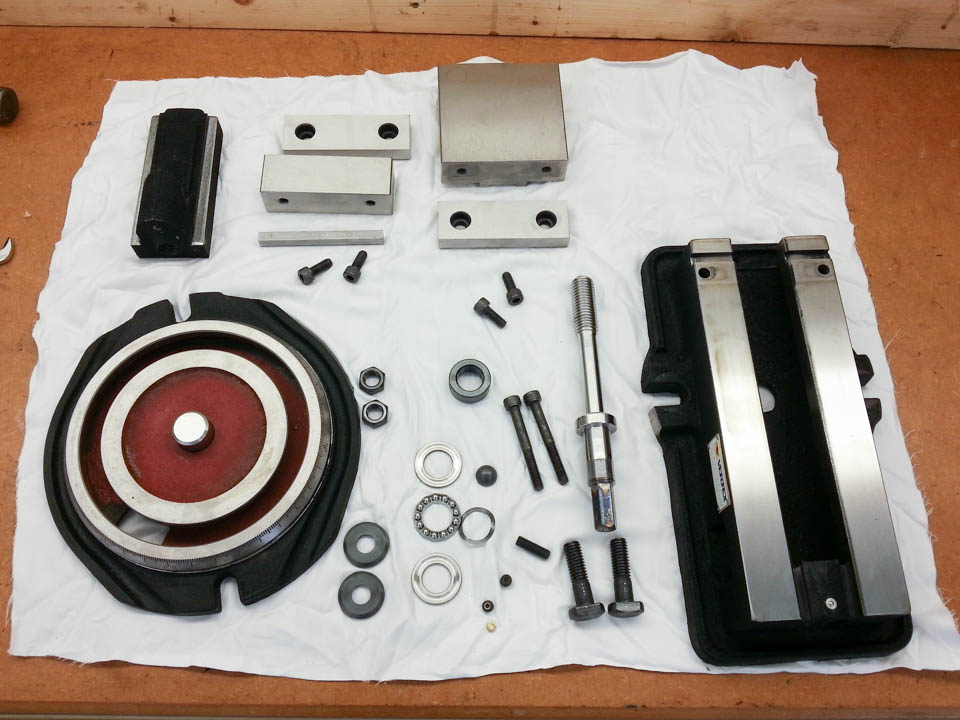
All the parts cleaned and ready to be put back together.
A closer view of the vice bed after degreasing. There's still some staining that can be seen but it's clean and I didn't want to do anything further that might damage the finish.
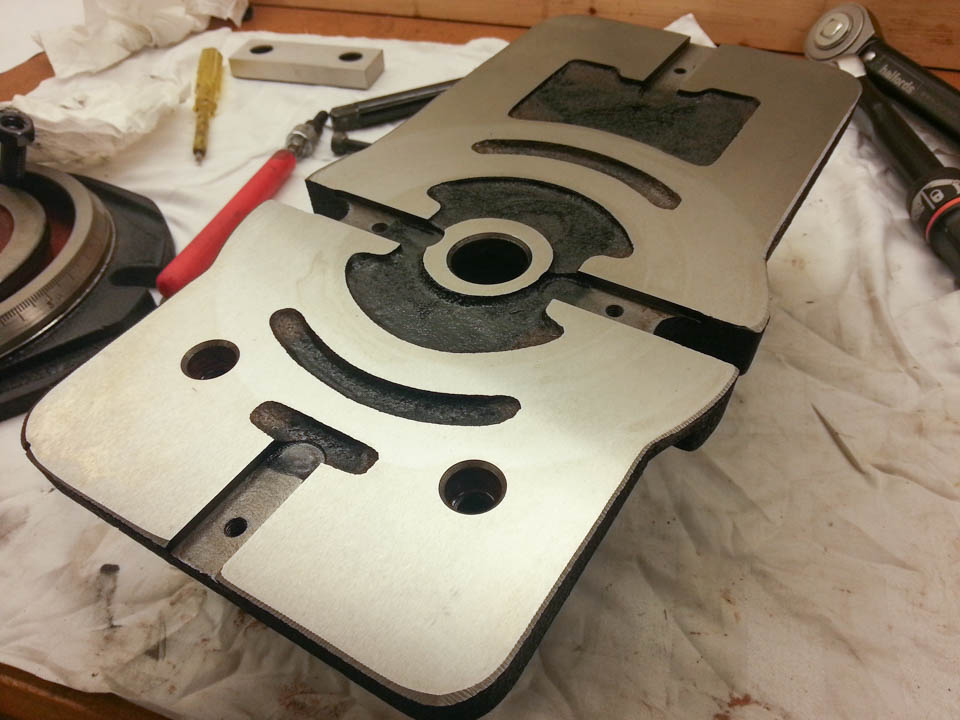
A clean base.
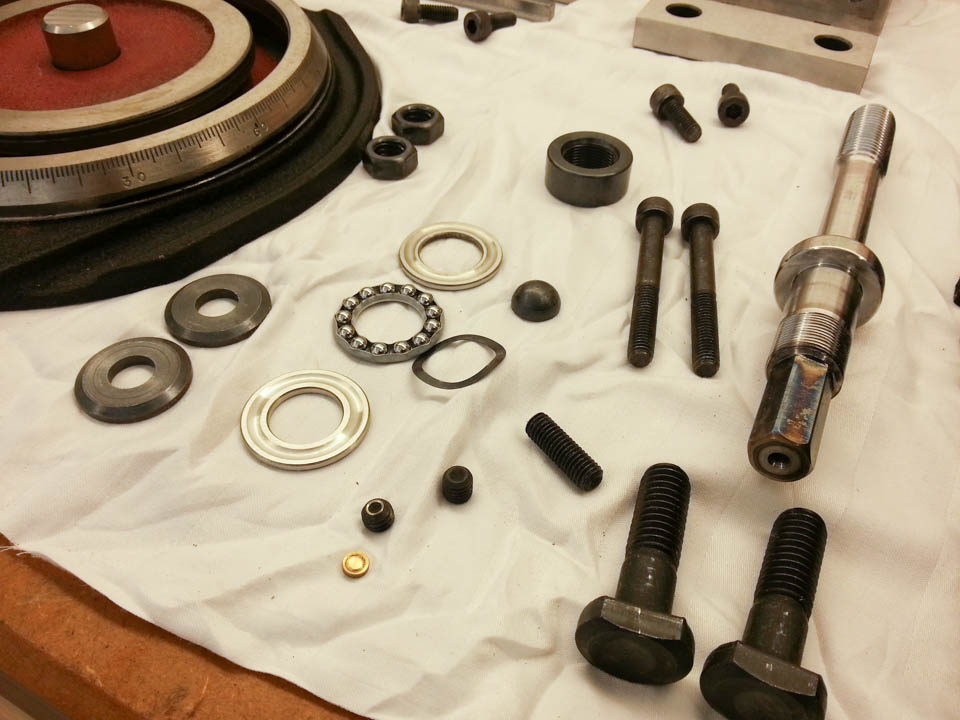
Some of the cleaned smaller parts.
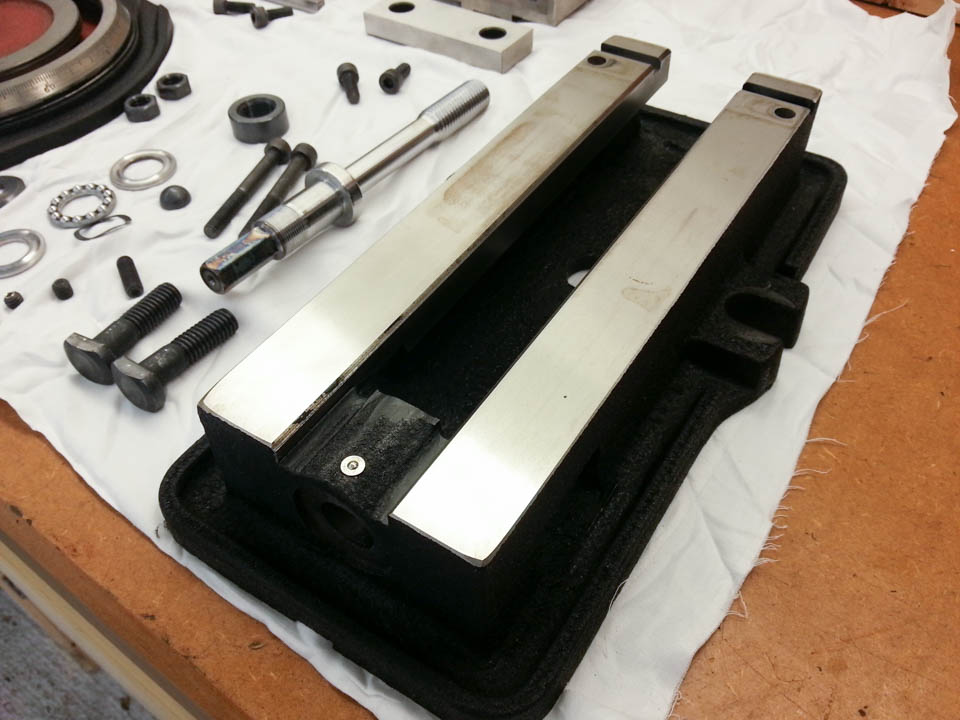
Cleaned vice jaws.
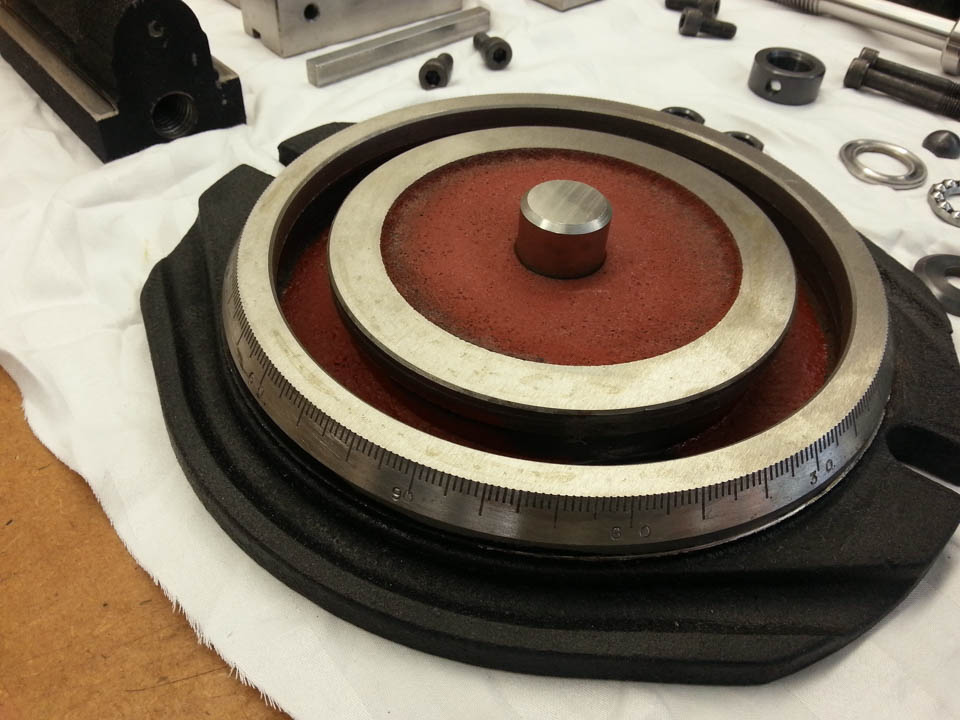
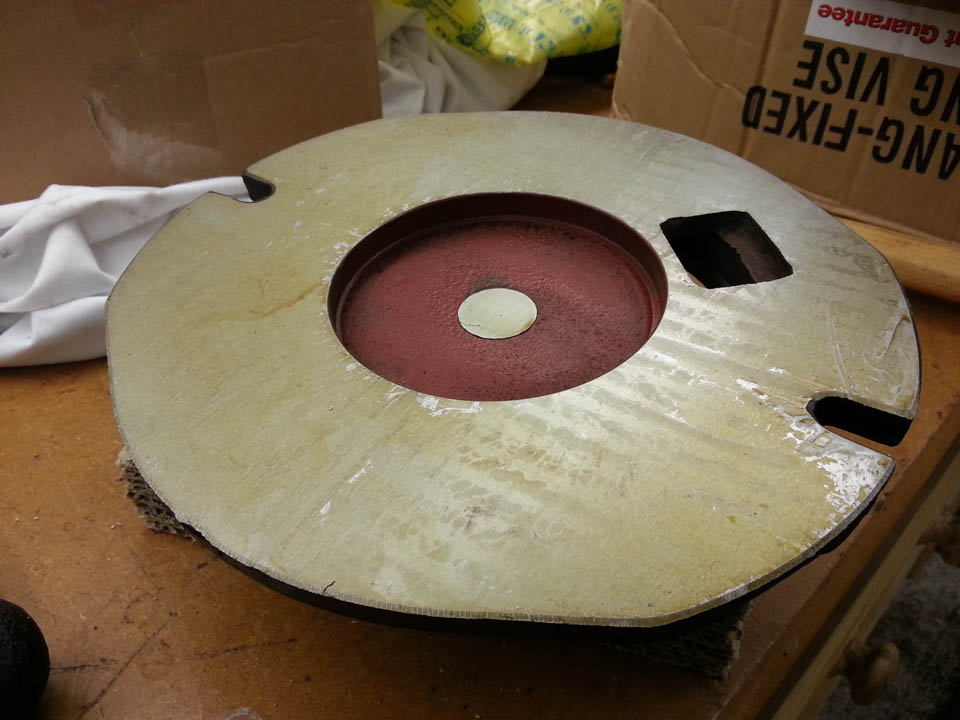
Cleaned swivel base. I don't plan on using this so I will just coat it in some light oil and store it away.

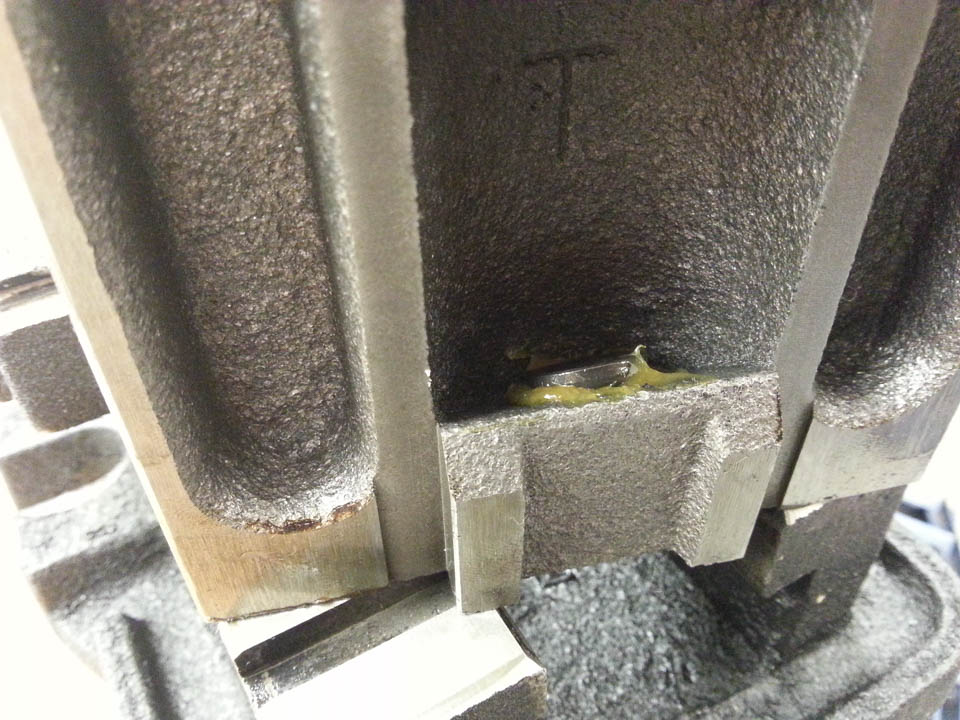
There was some paint overspray on the bearing surfaces which I scraped off using some pointed scraping tools or a dremel/wire brush where it would reach. You can see the dust removed in the foreground.

A close-up after cleaning up the bearing surface.
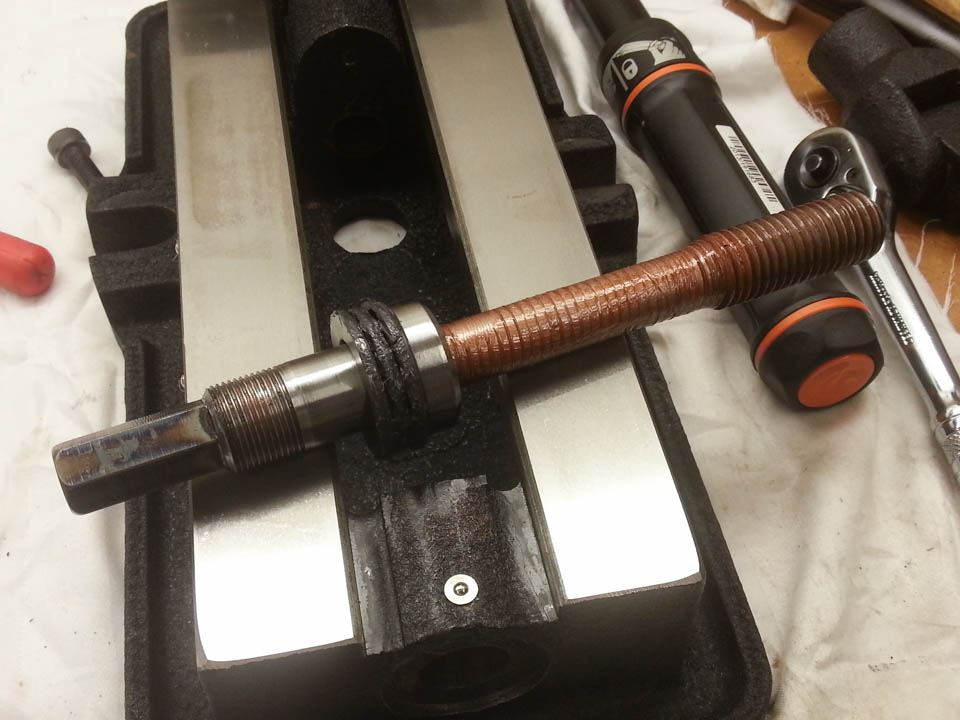
Grease up the bearings and re-fit followed by some coppaslip on the leadscrew.

Slide the leadscrew back into the vice body, then grease and fit the spring washer and collar.
The angle lock mechanism (hemispehere bearing) is thoroughly greased and put back into the moveable jaw housing before being gently offered back into place on the vice bed.

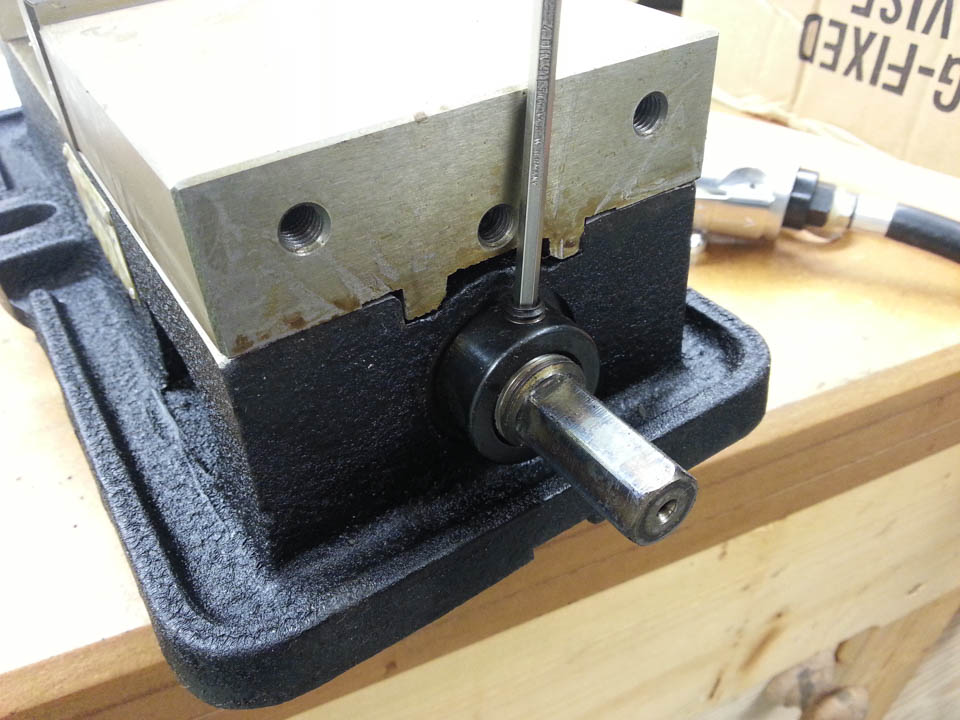
Fit grub screws (there were two in mine) then tighen the jaw so that the mechanism pushes the hemisphere bearing down to tighen the mechanism - leaving just a tiny bit of play so that the vice can clamp to irregular sized pieces.
Here's the second smaller grub screw that follows the longer one. Not sure of it's purpose (it doesn't lock the longer one in) but in it goes nonetheless.
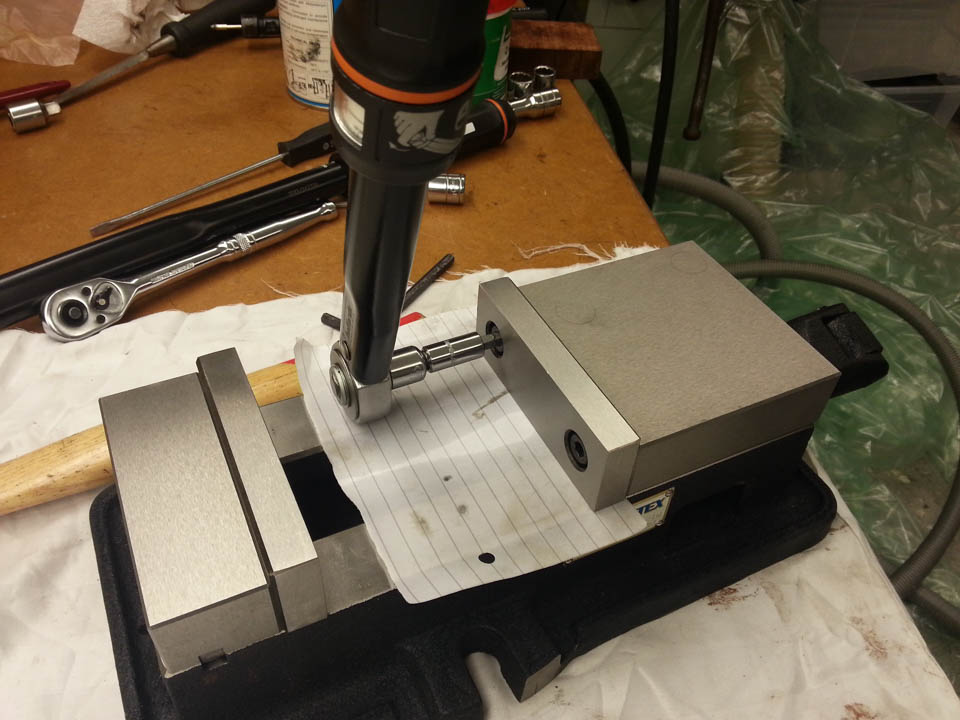
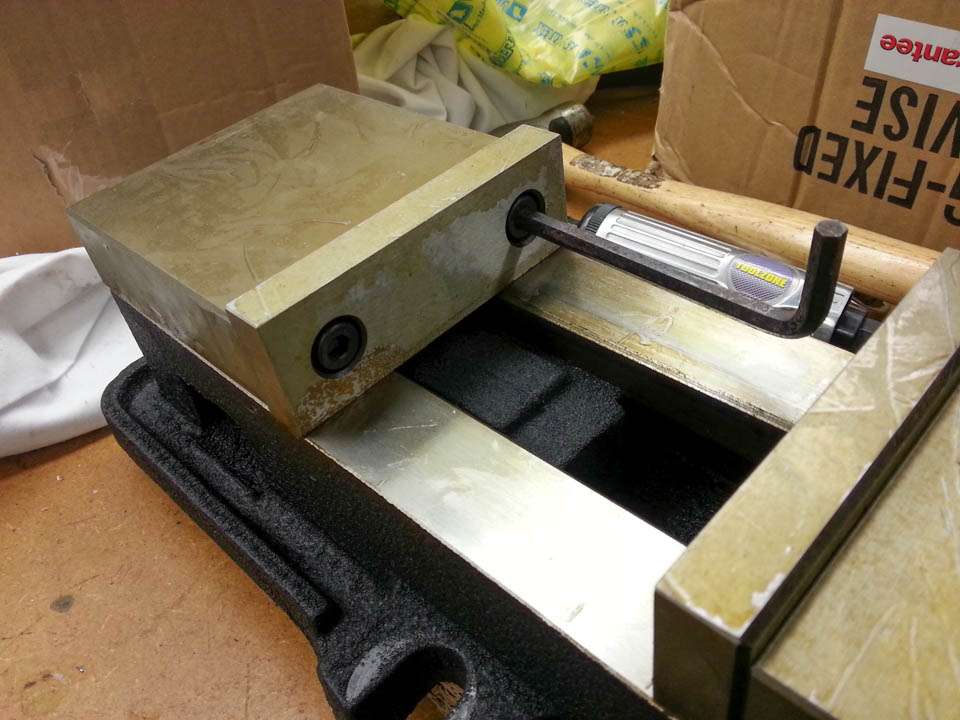
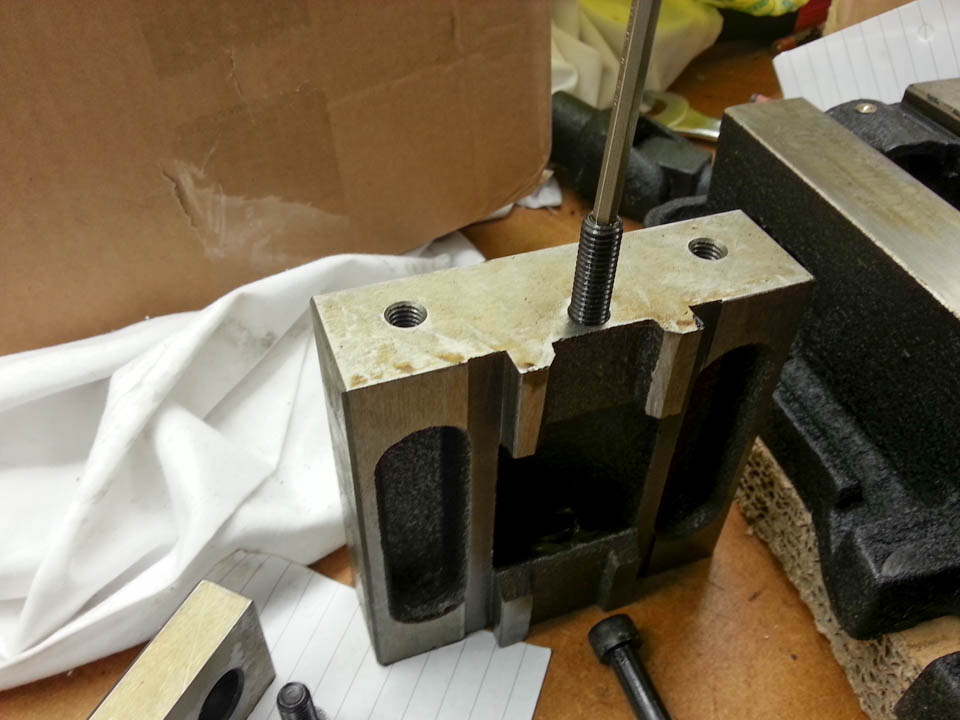
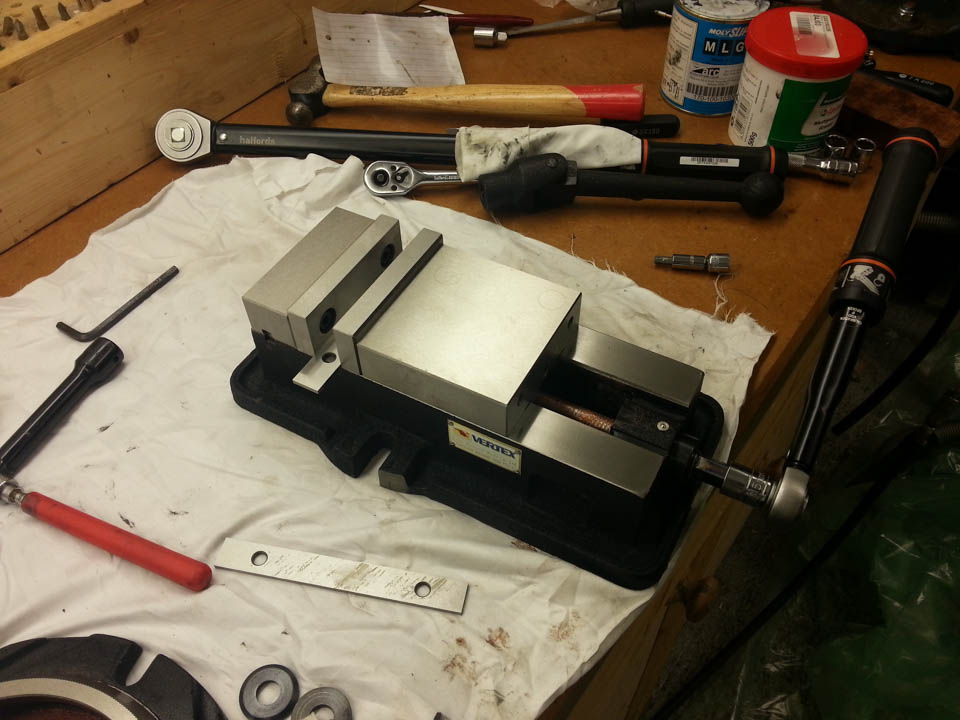
The jaw faces are then re-attached. I slip a thin sheet of paper under the moveable-end jaw face so it leaves a tiny gap and then tighen up the socket head cap bolts.
The bolts are M8 12.9 grade so I torque them up to 30ft lbs.
Do the same to the fixed jaw face but this time applying downward force as well to make sure it's firmly on the bed.
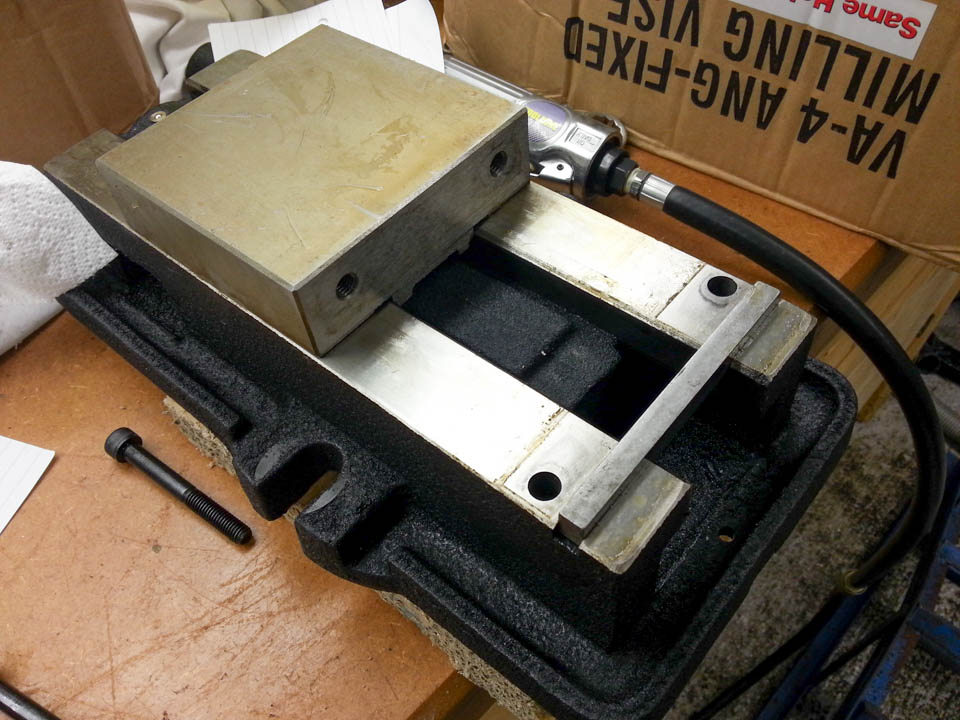
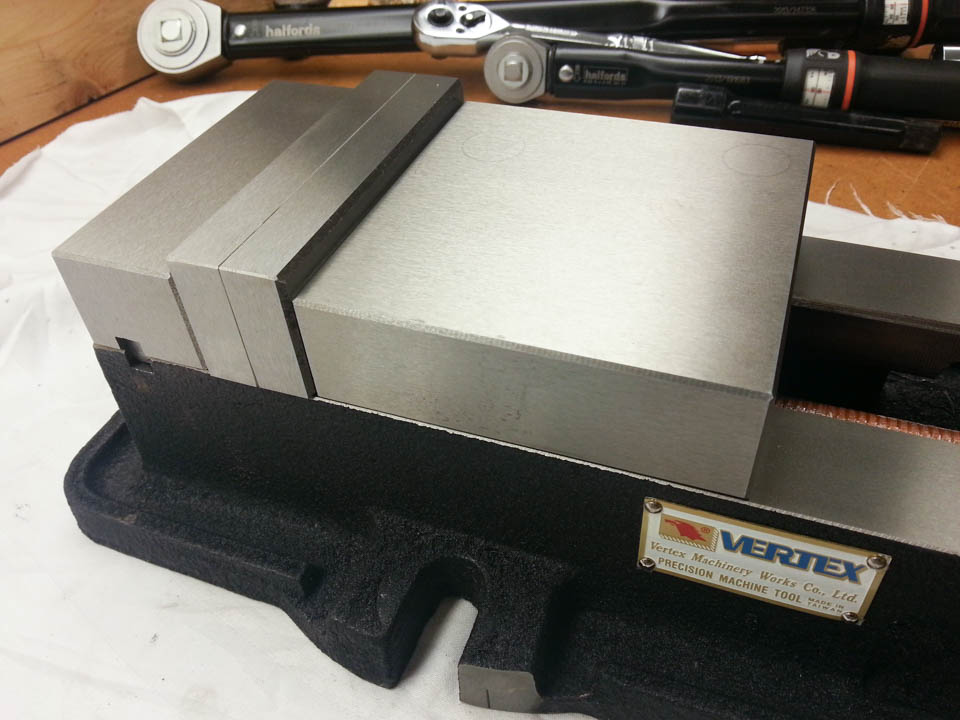
Following instruction from the Kurt rebuild notes, the moveable jaw is clamped to a specified torque aginst the fixed jaw using a parallel spacer inbetween.
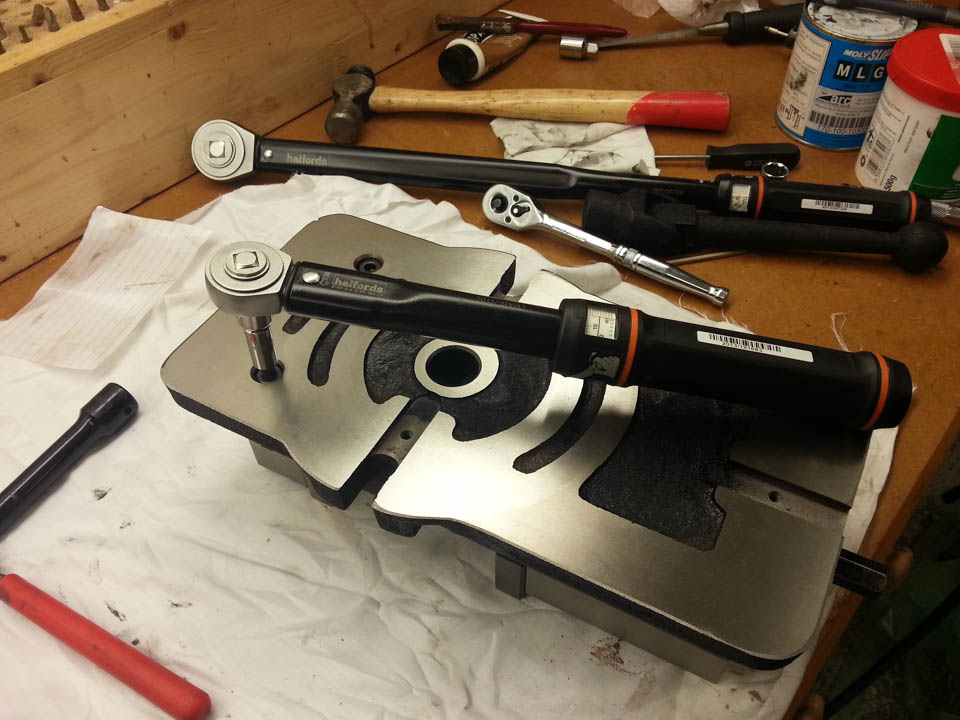
Then the long socket head cap bolts are fitted and torqued up, again to 30ft lbs.
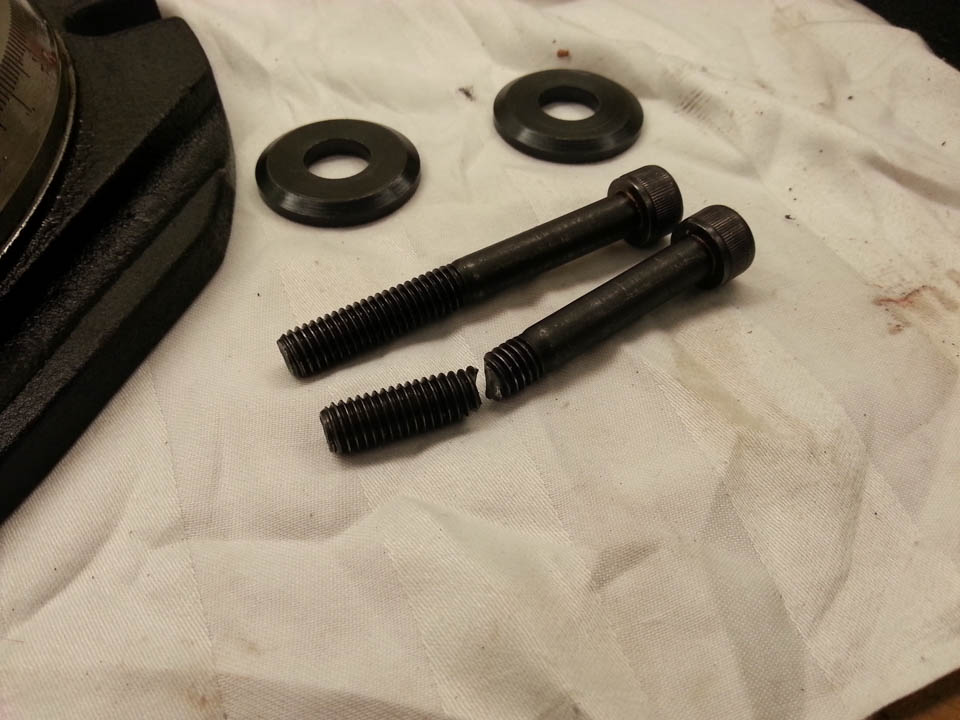
Initially I applied far too much torque as I just assumed the figures for the Kurt vice. At around 50ft lbs I snapped one of the bolts but luckily it came out without issue. I then looked up the max torque figures for all the bolts! Perhaps that tells you something about the Kurt vices.
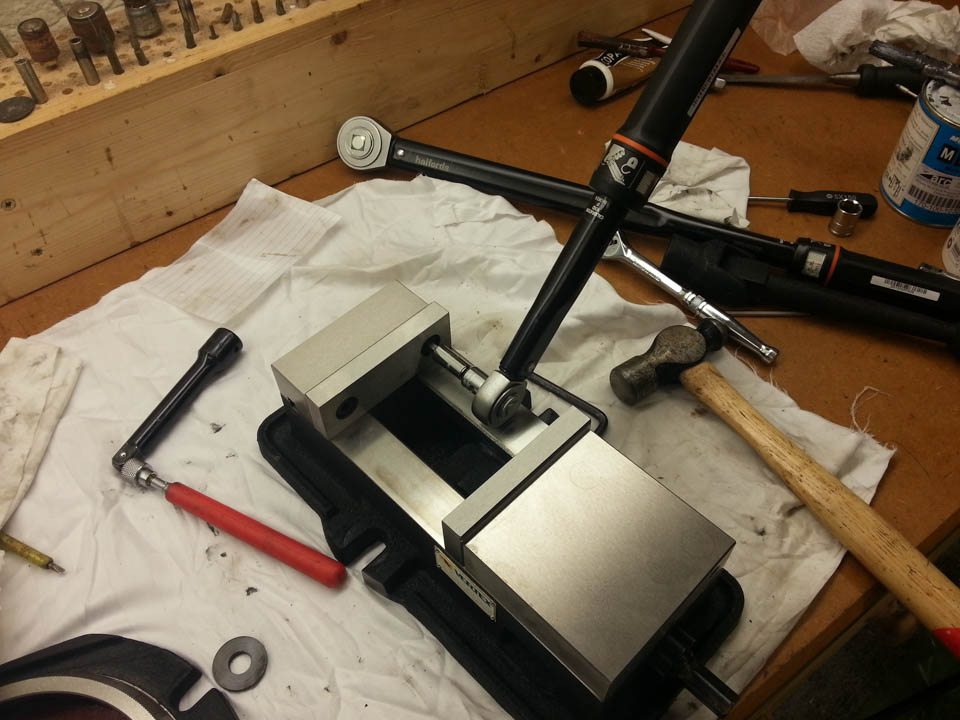
Here's the rebuilt vice cleaned, lubricted and ready for work.
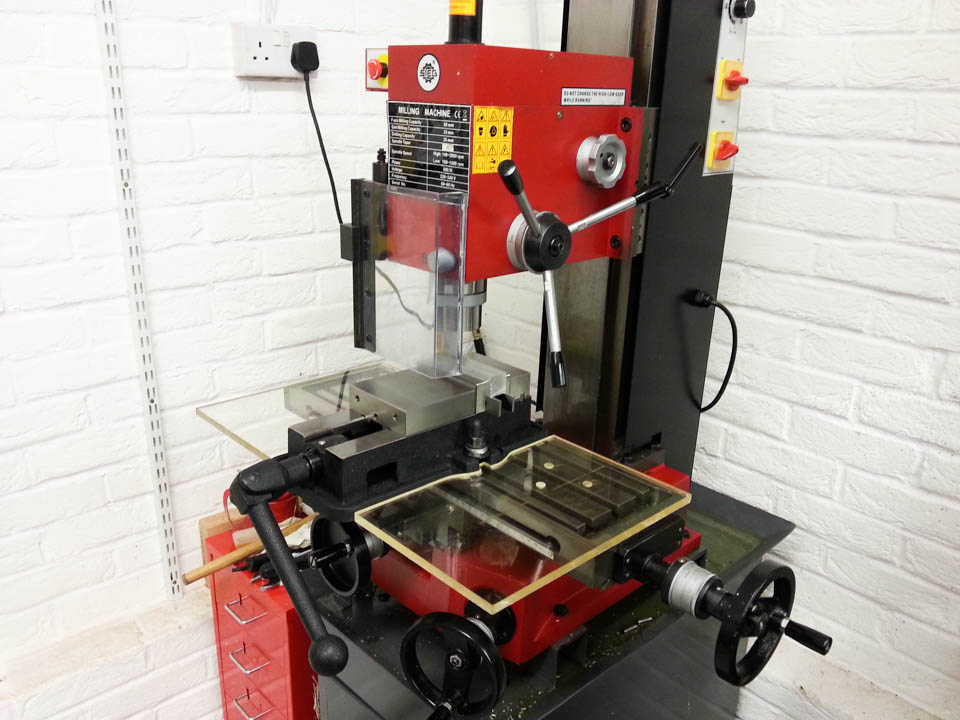
On the table of my Sieg X3 mill.